Installing a user certificate on Windows
What you need to know
A user certificate can be installed directly in Windows. With this procedure, the certificate is automatically imported into Outlook, Microsoft Edge, Google Chrome, the current version of Firefox, or other browsers that use the system certificate store.
What you have to do
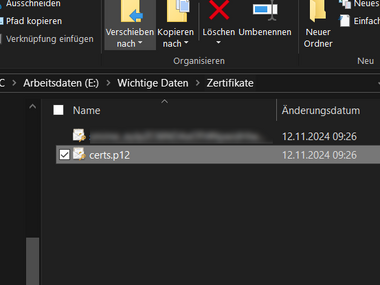
(If you haven't already done so) open Windows Explorer, navigate to the directory you created for your certificate file.
Then double-click on the downloaded certificate file.
- 1.1
- 1.2

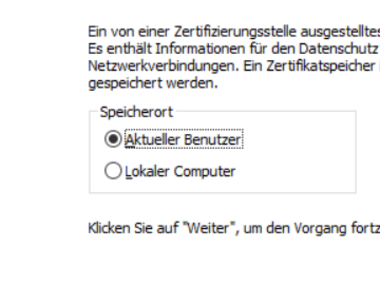
Leave the default storage location set to “Current user” and then click the “Next” button.
- 2.1
- 2.2

Confirm your selection by clicking “Next”.
- 3.1
- 3.2

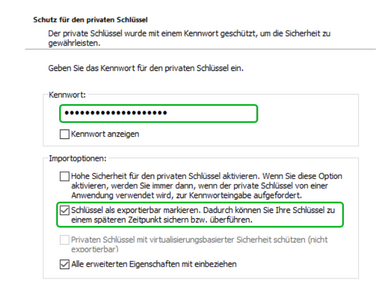
Now enter the password you specified earlier (during the certificate request), check the box next to “Mark key as exportable. This allows you to back up or transfer your key at a later date” and confirm by clicking the “Next” button.
- 4.1
- 4.2

The selection is set to “Automatically select certificate store (based on certificate type)”. Leave this setting as it is and click the “Next” button again.
- 5.1
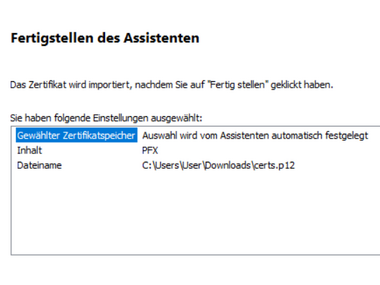
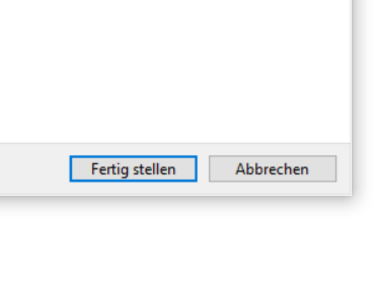
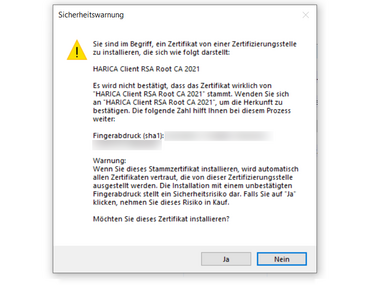
Click the “Finish” button and confirm the security warning with “Yes.”
- 6.1
- 6.2
- 6.3
Now you need to configure the settings for using the certificate in Outlook. To do this, open Outlook and select “Options” from the “File” menu.
Select the last menu item, “Trust Center,” and then click the “Trust Center Settings...” button.
- 8.1
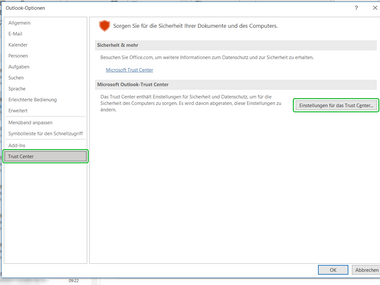 Outlook options
Further settings are configured in the Trust Center.
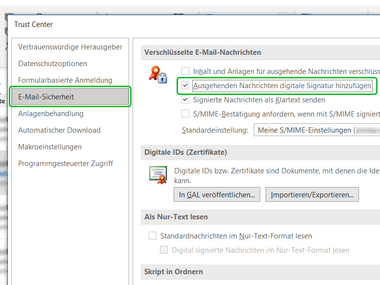
Select “Email Security” from the Trust Center menu. Then click the ‘Settings’ button under “Encrypted email messages.”
- 9.1
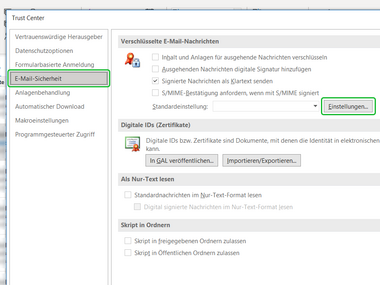 Trust Center
Open the Encrypted Messages settings
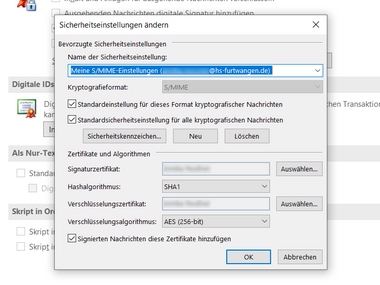
Now change the two encryption algorithms and confirm the certificate settings with “OK.”
- 10.1
- 10.2
 Change the encryption algorithms
Change the hash and encryption algorithm using the illustration.
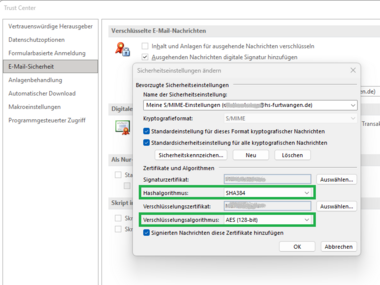
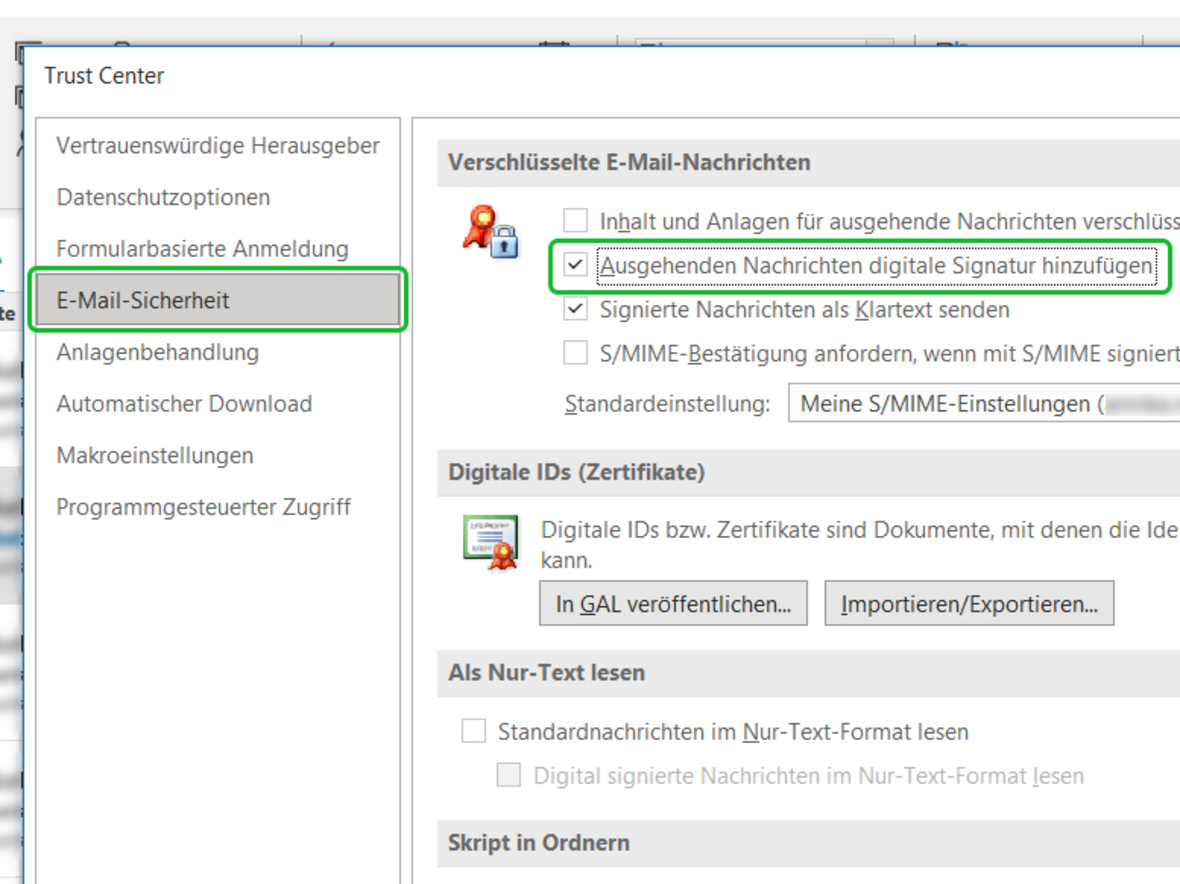
Now, under “Encrypted email messages,” check the box next to “Add digital signature to outgoing messages” and save the settings by clicking “OK” twice (this closes the options).
- 11.1
 Email security
Outgoing messages should use the digital signature