Importing the user certificate into Thunderbird
What you need to know
The DFN user certificate (see helpcard Internal link opens in the same window:Applying for user certificate for email and HIP (MYCERT 10-010)) (only for HFU employees) can be imported and set up as a digital signature in Mozilla Thunderbird. The digital signature verifies your identity in email communication and ensures that your emails are delivered to the recipient unchanged.
What you have to do
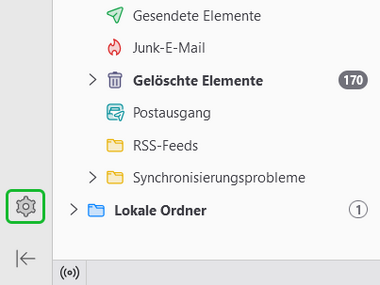
Open the settings by clicking on the gear icon (see Fig. 1.1) in the lower left corner.
- 1.1
- 1.2
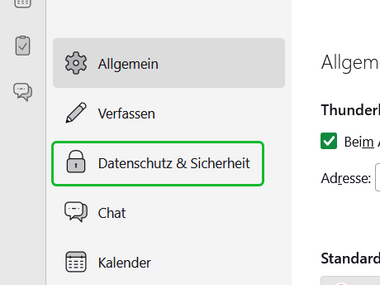
Select the “Privacy & Security” option from the menu.
- 2.1
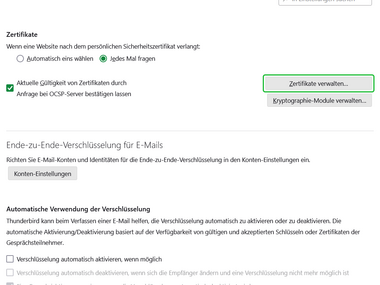
Scroll down the page that appears and click the “Manage Certificates” button in the last section.
- 3.1
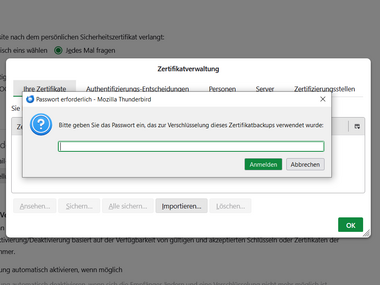
Import the user certificate:
- 4.1
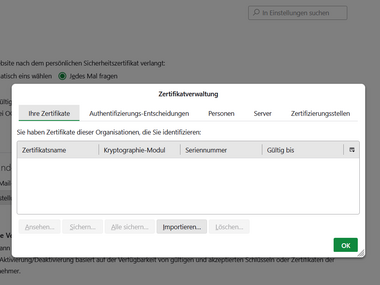
- 4.2
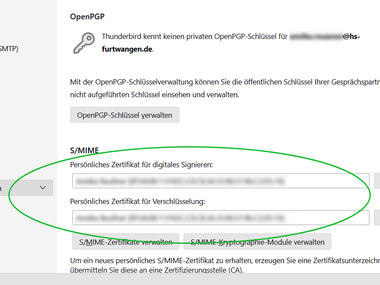
Check that the import has been completed successfully and then close the overlay by clicking “OK”.
- 5.1

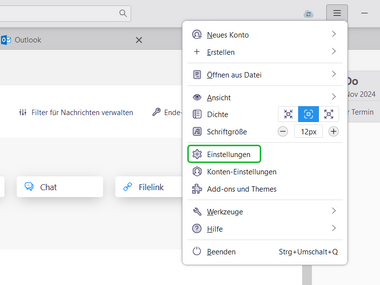
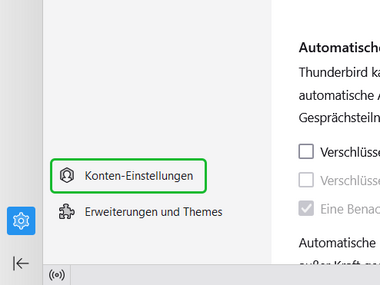
Now switch to the account settings by clicking on the “Account settings” option in the menu.
- 6.1
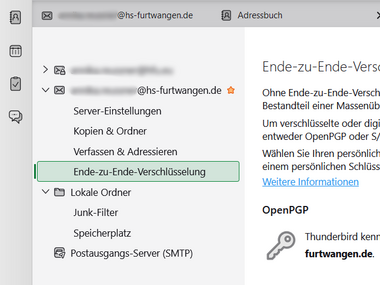
Select the “End-to-end encryption” option below your hs-furtwangen.de account.
- 7.1
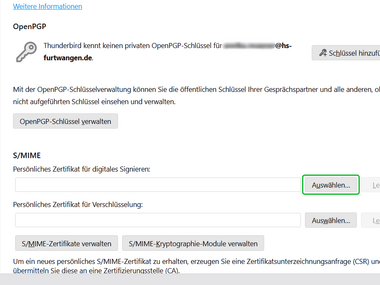
To store the certificate, click the "Select" buttons in the "S/MIME" section.
- 8.1
- 8.2

- 8.3
- 8.4
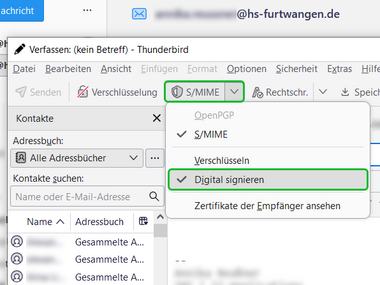
Scroll down a little to the section “Sending messages” and activate the option “Digitally sign unencrypted messages”
- 9.1
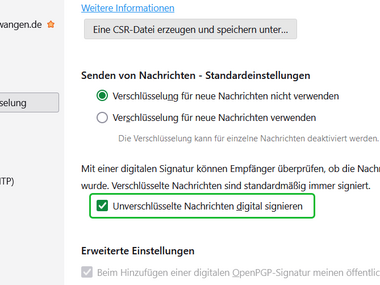
- 9.2