Check and correct active sessions and cross-signatures
What you need to know
In order to be able to use the key backup in Matrix correctly, it is important to ensure that existing sessions* have been verified and that cross-signatures are recorded correctly.
These instructions are intended to help you with the necessary steps to rectify the following effects:
- an exclamation mark is displayed next to your name
- You can no longer verify new sessions with your existing key backup (add new end devices)
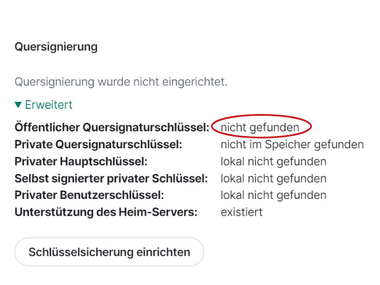
- You receive the message “Cross-signatures have not been set up”
*Active session = refers to a new login via the browser or chat client (several sessions can exist simultaneously, i.e. in the client and browser).
What you have to do
Click on your name (top left) to open the “Profile options” dropdown.
- 1.1
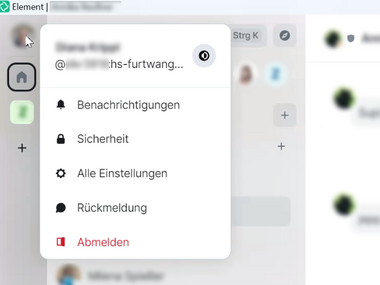
Select the menu item “All settings” and then click on the second navigation item “Sessions” in the overlay.
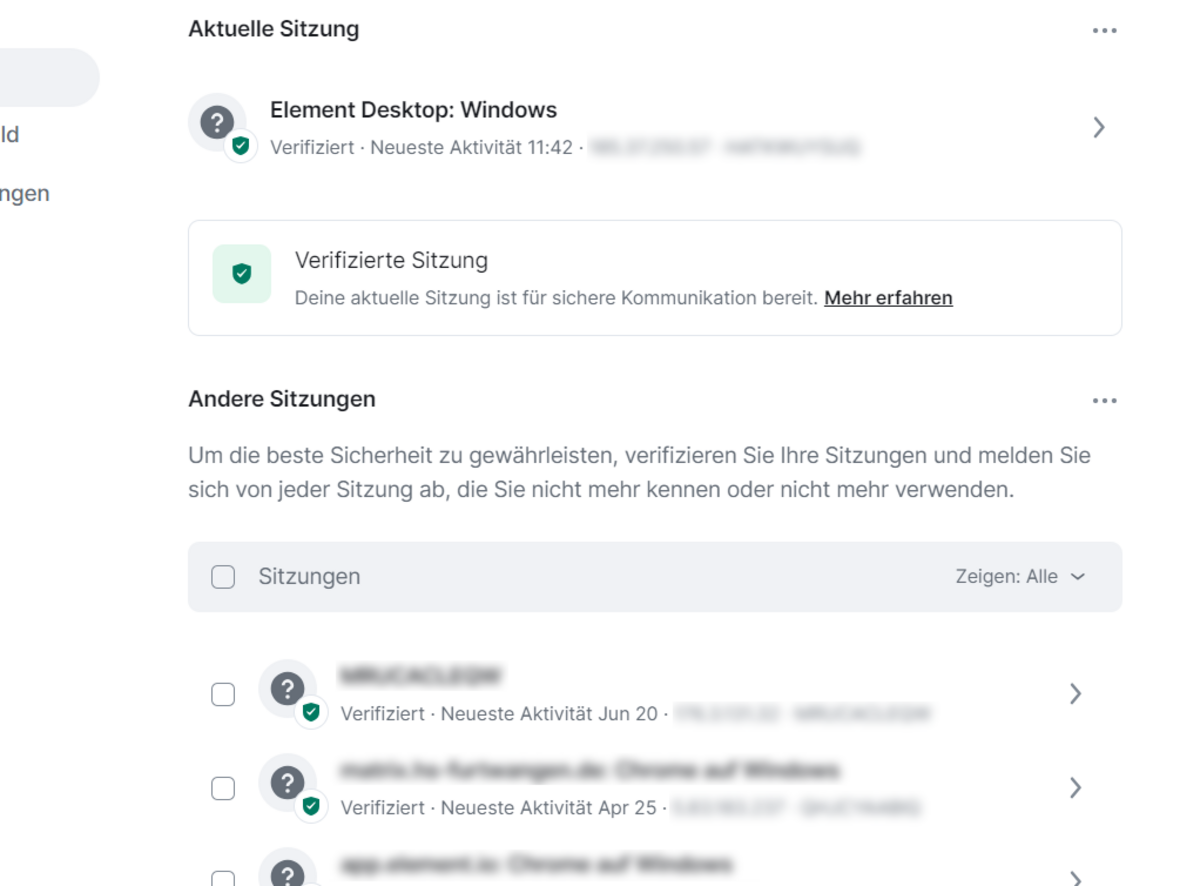
Check here under the “Other sessions” section whether other sessions exist and end them.
- 3.1
 Display of current and other sessions
Sessions should always be verified to ensure that no messages are lost.
Now call up the “Security” menu item.
(Optional) In the “Cross-signing” section, click on the “Advanced” link and check the display.
- 5.1
Click on the “Reset” button under the first section “Encrypted backup” to set up the backup again.
Click on the “Reset it here” button.
Click on the “Reset” button.
Click on the “Continue” button.
Click on the “Copy” button to copy the newly generated backup key to the clipboard and then save the key in a safe place, preferably in a password safe.
Click on the “Continue” button.
Finally, click on the “Done” button
- 12.1
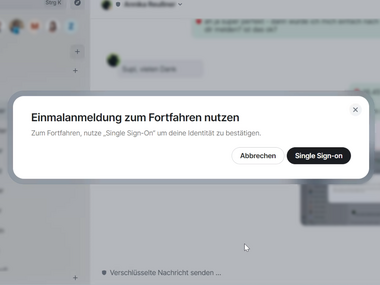
Click on the “Single sign-on” button.
Confirm the request by clicking on the “Continue with Microsoft” button and successfully complete HFU account authentication.
- 14.1
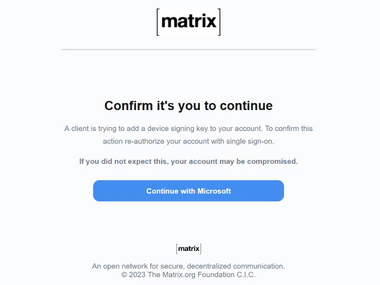
- 14.2
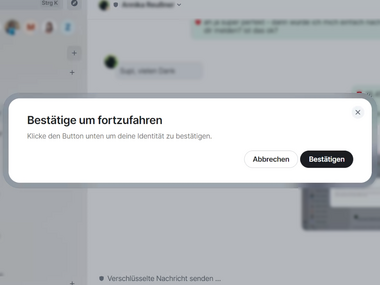
Switch back to the client and click on the “Confirm” button.
- 15.1
The setup has been successfully completed and the exclamation mark next to your chat messages should no longer be displayed.