Requesting user certificate for email and HIP
What you need to know
You can obtain a user certificate from Harica for verifying emails and signing invoices in HIP.
Important: The certificate issued can only be used for verifying emails and in HIP. Unfortunately, it cannot be used to verify PDFs, for example!
What you have to do
Enter the following address in your browser: External link opens in a new window:https://cm.harica.gr/login
- 1.1
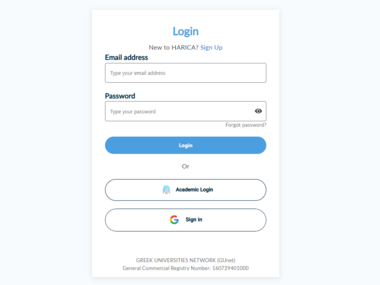
- 1.2

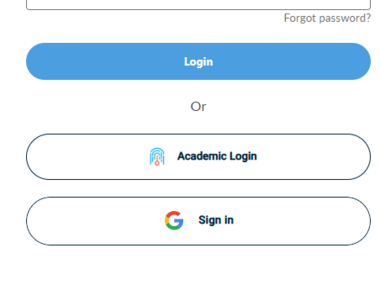
Click on the “Academic Login” button below the login area.
- 2.1
Search for “Hochschule Furtwangen” in the institution selection and confirm your selection.
- 3.1

Log in with your HFU account (if you haven't already done so) and confirm the data transfer to Harica.
- 4.1
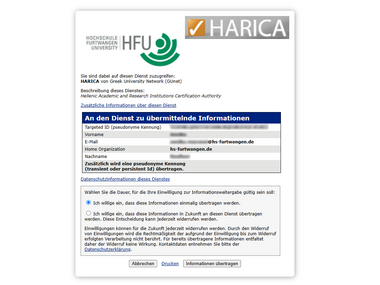
- 4.2
Go to the “Email” menu item to start the certificate request.
- 5.1

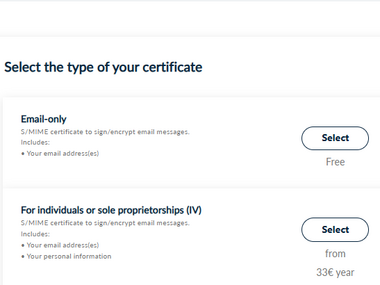
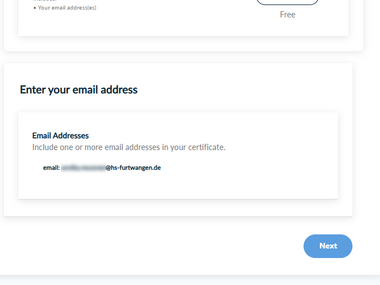
In the first step, select the free “Email-only” certificate type by clicking on ‘Select’ and then confirm the stored email address by clicking on “Next.”
- 6.1
- 6.2
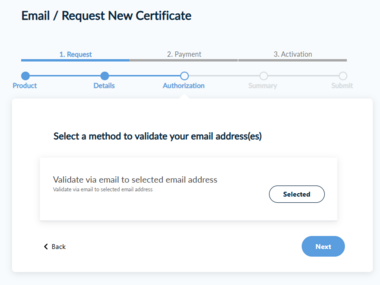
Now confirm the validation method you have set by clicking “Next”.
- 7.1
Check the box to indicate your consent under the application overview before clicking “Submit”.
- 8.2
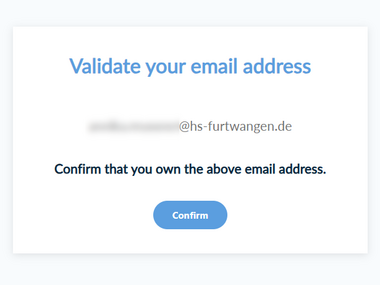
You will now receive an email from Harica. Confirm your email address by clicking “Confirm” in the email.
On the Harica confirmation page, click “Confirm” again to complete the confirmation process.
- 10.1
- 10.2
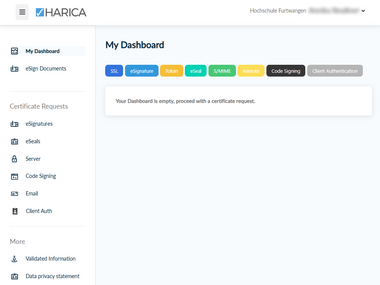
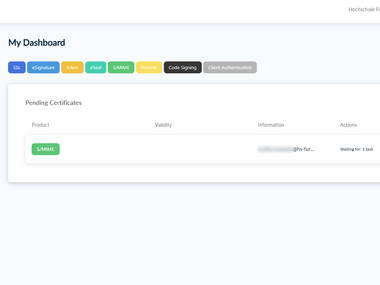
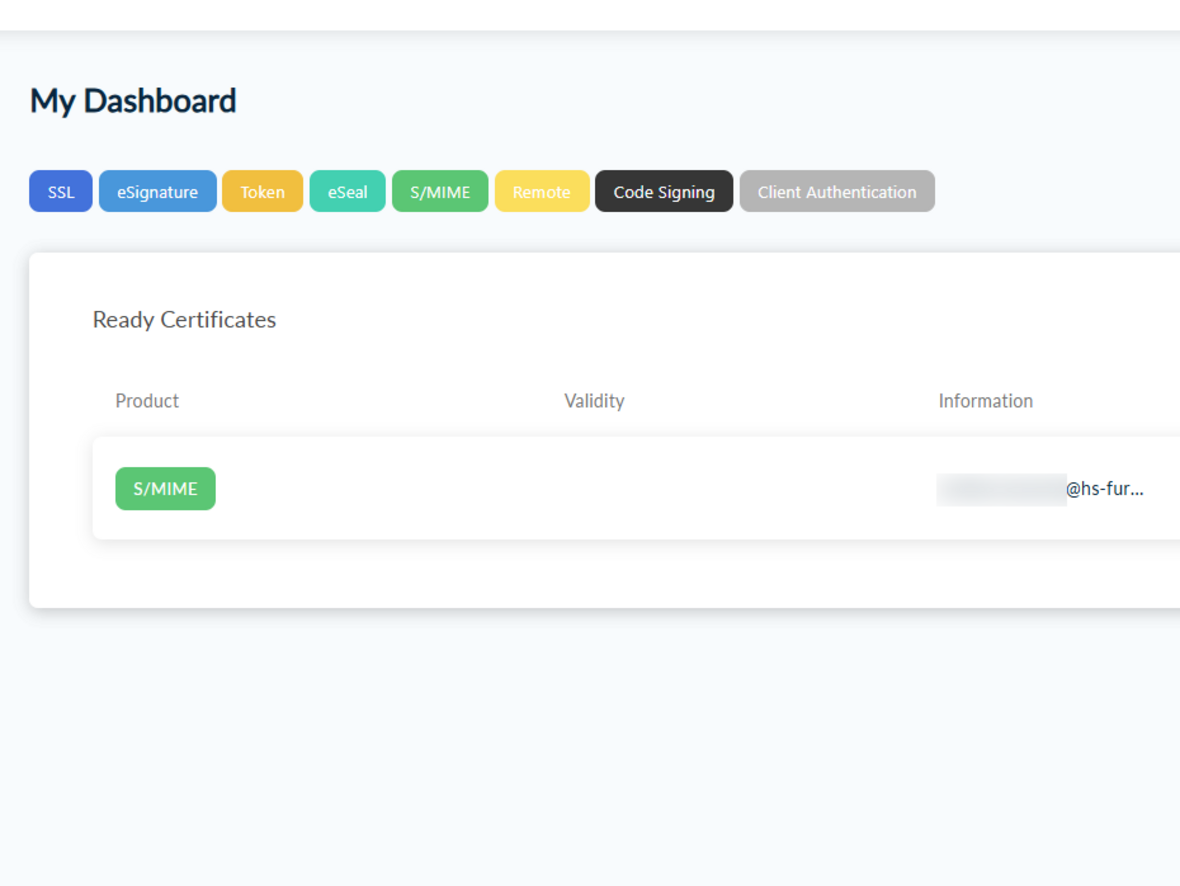
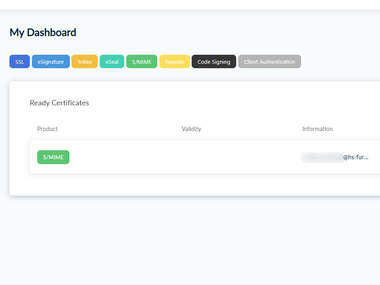 Dashboard with confirmed certificate
The heading should now have changed from “Pending” to “Ready.”
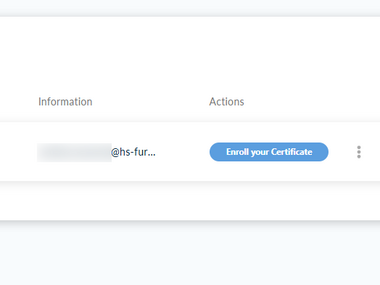
On your dashboard, click “Enroll your Certificate” next to the certificate entry.
- 11.1
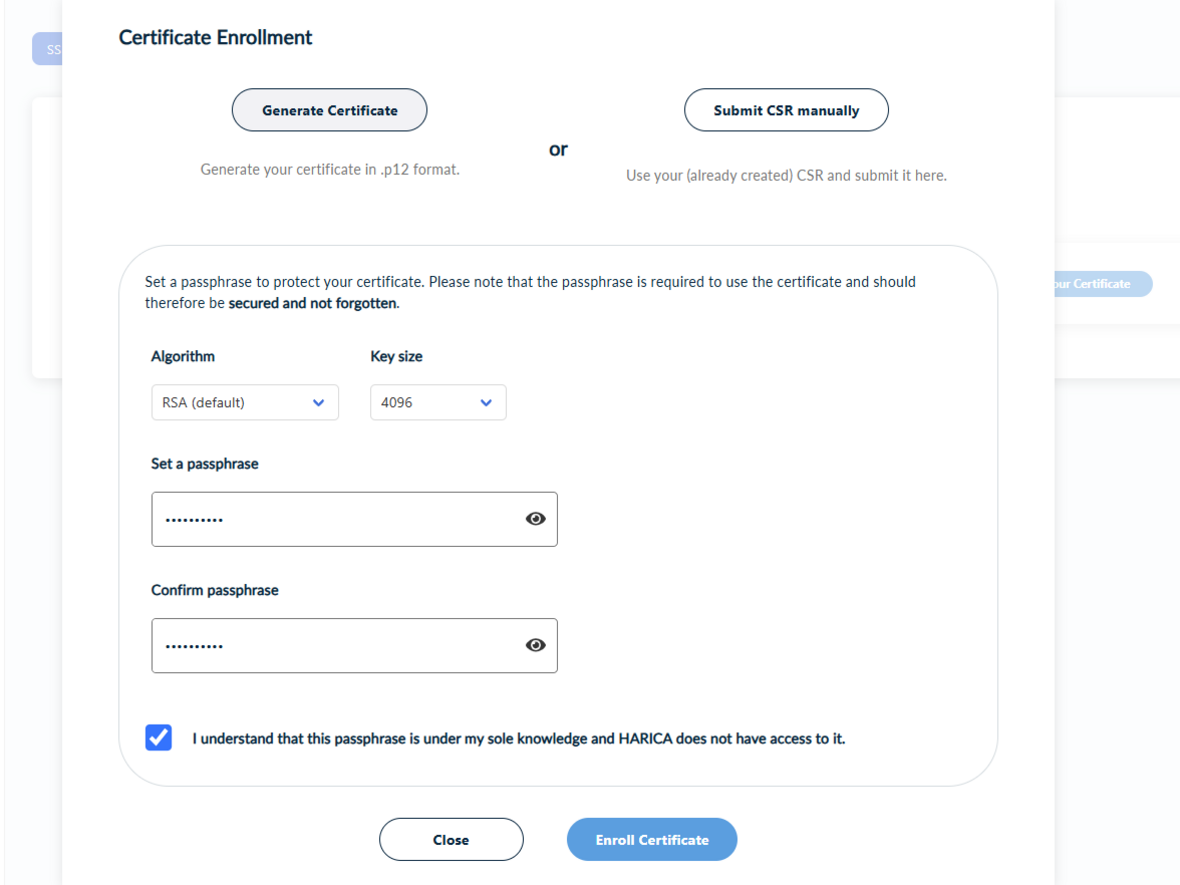
Fill out the form as follows:
- Select RSA as the encryption algorithm (“Algorithm”).
- Select 4096 as the “Key size”.
- Set a password and enter it twice.
- Check the confirmation box to confirm that you will manage the password yourself.
- Finally, click on “Enroll Certificate” to save your entries and complete the process.
- Check the box to confirm that you manage the password yourself.
- 12.1
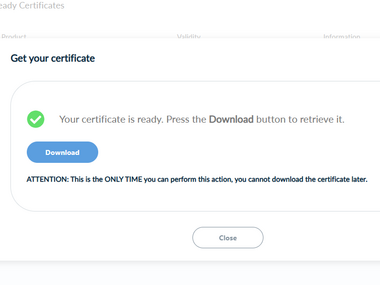
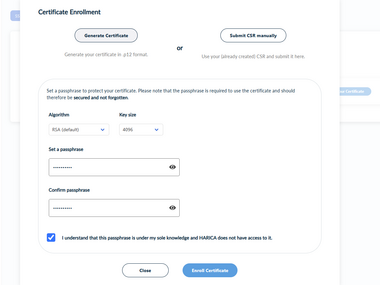 Create certificate
Before the certificate can be downloaded, a few settings must be configured.
Now click on the “Download” button to download the certificate.
- 13.1
To install and integrate the certificate you have created, please follow the help card Internal link opens in the same window:Installing a user certificate on Windows (MYCERT 10-020). When you install the certificate on Windows, it is automatically imported into Outlook, Microsoft Edge, Google Chrome, the current version of Firefox, or other browsers that use the system certificate store.
If you want to use Thunderbird, please also use the help card Internal link opens in the same window:Importing the user certificate into Thunderbird (MYCERT 10-030).
The newly created certificate is now valid for two years.