Creating your own background image
What you need to know
Instead of embedding yourself in front of a presentation, you can also embed yourself in an image of your choice, which you transfer to the Rapidmooc via USB stick.
We show you how to do this in this tutorial.
You can also select images that are stored in the Rapidmooc via "Background image" in the scene editor.
What you have to do
Preparation: The desired image (warning: observe copyrights) must be saved as PNG, in 16:9 format (resolution 1920 x 1080) on a USB stick.
Connect your USB stick to the Rapidmooc (back right).
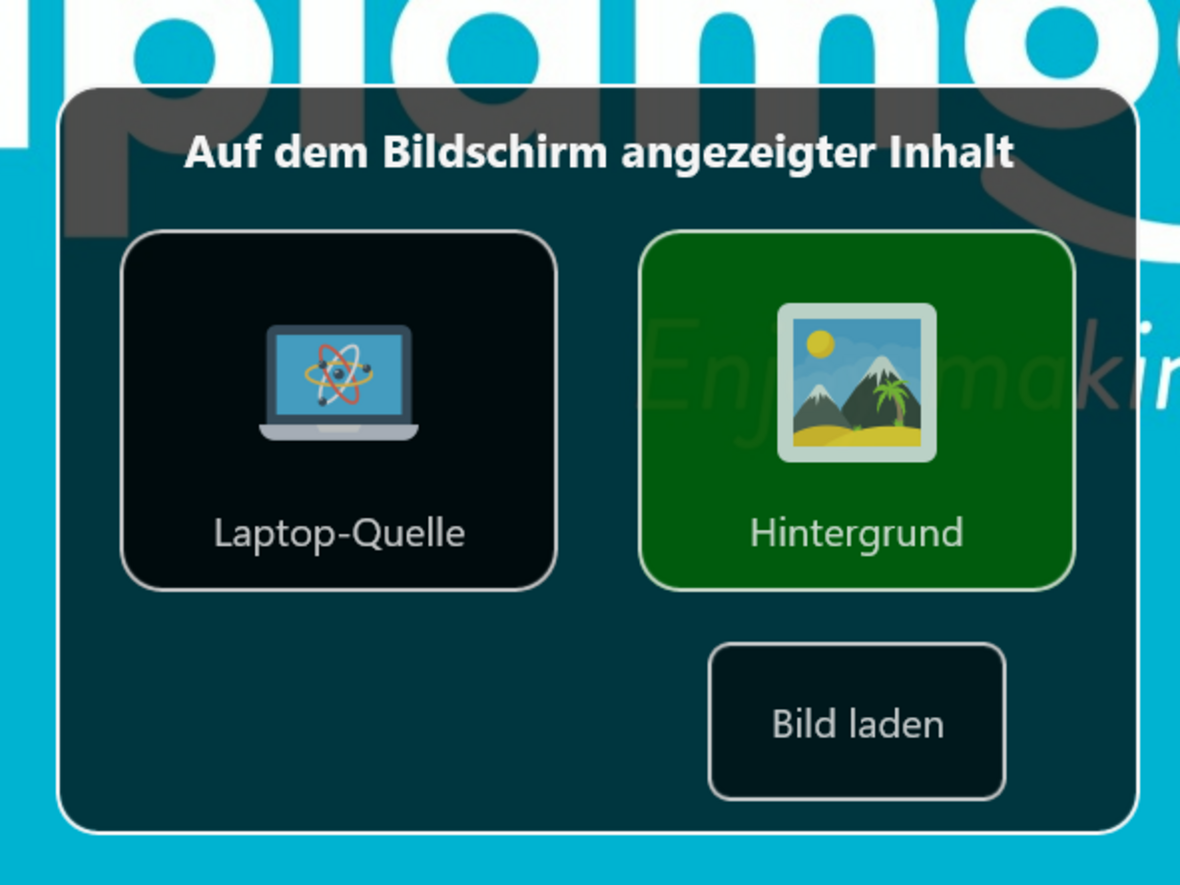
First click on the "Video aufzeichnen" (Record video) tile in the main menu. Then select "Content-Quelle" (Content source) from the options.
- 3.1
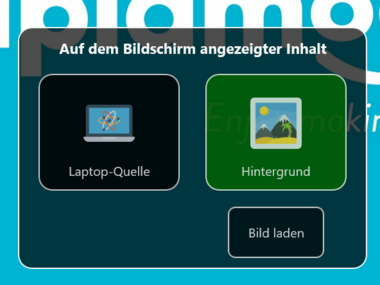
You can activate or deactivate the background image with one click.
You can now select a suitable recording mode and then set the scene for your background image, your presentation and yourself in the scene editor.