Using "Teaching icons" in your FELIX course
What you need to know
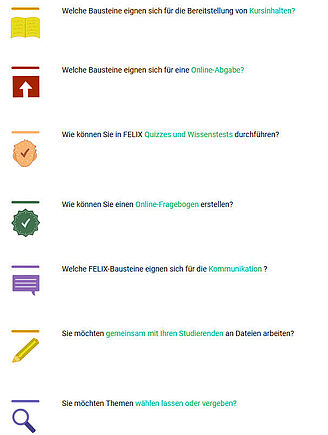
Our new eye-Catchers - the so-called "teaching icons" - provide more variety.
Teaching icons are icons that represent different activities in teaching, e.g. "Present", "Schedule", "Read", "Edit" and many more.
External link opens in a new window:To example in the demo course
These icons can either be integrated into a single page in FELIX (instructions on this Helpcard) or in the area of course element layouts (see Internal link opens in the same window:Individual course layout Helpcard (FELIX
10-070)).
For the creation of new courses we recommend the use of our course templates, there the teaching icons are already integrated
(see Internal link opens in the same window:Creating a course with a course template Helpcard (FELIX 10-010)).
What you have to do
Bring up the External link opens in a new window:FELIX Demo course.
See an example of how to use the teaching icons in a single page here.
- 2.1
Download the "Teaching icons for html" (e.g. by clicking on the file name) if you want to continue with these instructions.
Open the FELIX course you want in the authoring area.
Open Administration on the top left.
Select the “Files” menu item and click “Storage folder”.
Click "Upload file" and select the appropriate teaching icon zip folder. Upload the folder.
In the three-dot menu of the inserted ZIP folder, click “Unzip” on the right.
Exit the folder by clicking on the red cross in the upper right corner.
Insert a single page by following steps 1 to 5.1 of the Internal link opens in the same window:Inserting an HTML page Helpcard (FELIX 30-040).
Select (in the course editor) in the "Single page", under the"Page content" tab, the "Security settings" section" and there "Allow link in entire storage folder".
Publish your changes by clicking on the red cross in the upper right corner. Select the "Publish automatically" option to publish the change.
Edit the individual page by clicking on "Edit page".
To insert a teaching icon, select "Image" under "Insert" in the html editor.
Click the Upload Icon at "Source" to select a source.
Navigate to the desired folder that contains the teaching icons.
Select a teaching icon from the displayed folder and confirm with "Select".Select a desired dimension e.g. 70 x 70 and click "OK".
Edit your individual page as desired. Don't forget to save in between and select "Save and close" at the end.