Starting Rapidmooc
What you need to know
This Helpcard describes how to start the Rapidmooc, log in and turn on the lamps for illumination.
What you have to do
Switch on the two connector strips at the front: one connector strip is located by the left lamp and another connector strip behind the Rapidmooc.
Switch on the power strip in front of the green screen.
Switch off the room lighting. The four lamps are sufficient for studio illumination.
Switch on the Rapidmooc (switch is located in the centre of the rear panel).
Log in to the Rapidmooc (control via bluetooth keyboard via trackpad) with the user data we have given you.
Start the Rapidmooc application on the Windows desktop with a double click. To enter the recording mode, see Helpcard Internal link opens in the same window:Options in the video menu (RMOOC 20-030).
- 6.1

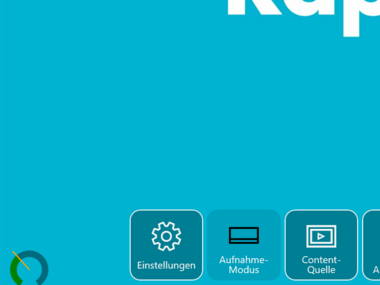
Main menu (tile view) of the Rapidmooc
If you have plugged in the microphone and switched on the transmitter (see Helpcard Internal link opens in the same window:Preparing accessories for use (RMOOC 20-010), step 4), after selecting the "Record video" option you should now notice the needle moving in the lower left-hand corner of the screen when you speak. We recommend a test recording.
- 7.1
You can see the needle moving at the lower left-hand corner of the screen.