Options in the video menu
What you need to know
Once you have selected the "Video aufzeichnen" (Record video) tile in the main menu, you will enter the options. This guide will take you through the most important configurations you can make in the options.
For control you can use the touchscreen directly on the Rapidmooc as well as the wireless keyboard (via trackpad).
What you have to do
Select the "Video aufzeichnen" (Record video) tile in the main menu.
- 1.1
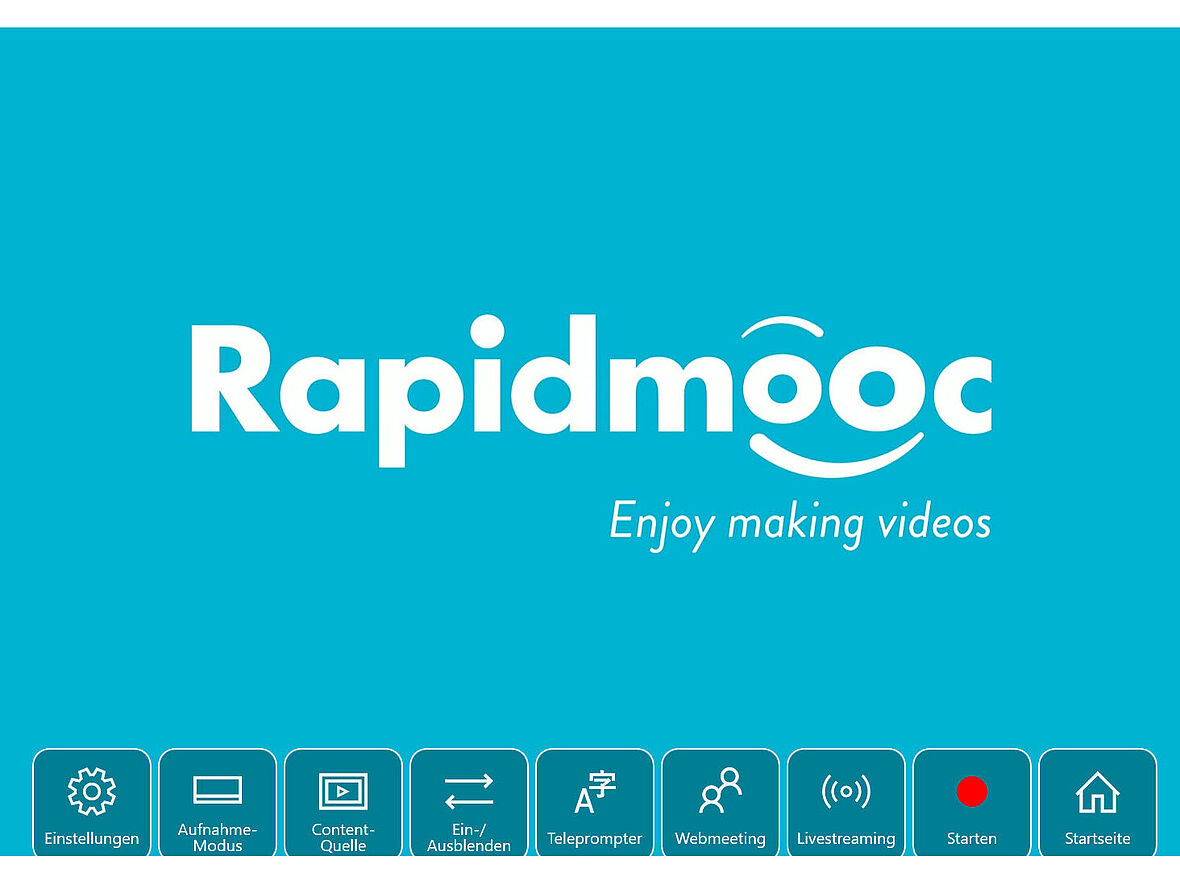
Options in Rapidmooc
Recording mode: Use the wireless keypad to select the recording mode first (bottom left) and select "Green Screen" (top left).
If you have selected a recording mode, then click on "Einstellungen" (settings).
- 3.1

Configure settings
Press "Zurück" to go back to the "Video aufzeichnen" (record video) menu.
Fade in/out: Click on Show/Hide to hide the camera image during recording and click again to show it again.
Teleprompter: This option is only relevant if you want to use the teleprompter. More info on this on Helpcard Internal link opens in the same window:Using the teleprompter (RMOOC 30-030).
Helpcard Internal link opens in the same window:Starting and finishing a video recording (RMOOC 20-040) shows you how to start a recording.