Introduction to tweedback - Creating and managing a session
What you need to know
Tweedback can help you incorporate interactions into your courses during your face-to-face or online lectures and provide a feedback feature.
The main functions of tweedback include...
... the survey function
... the lecture hall polls (quiz function)
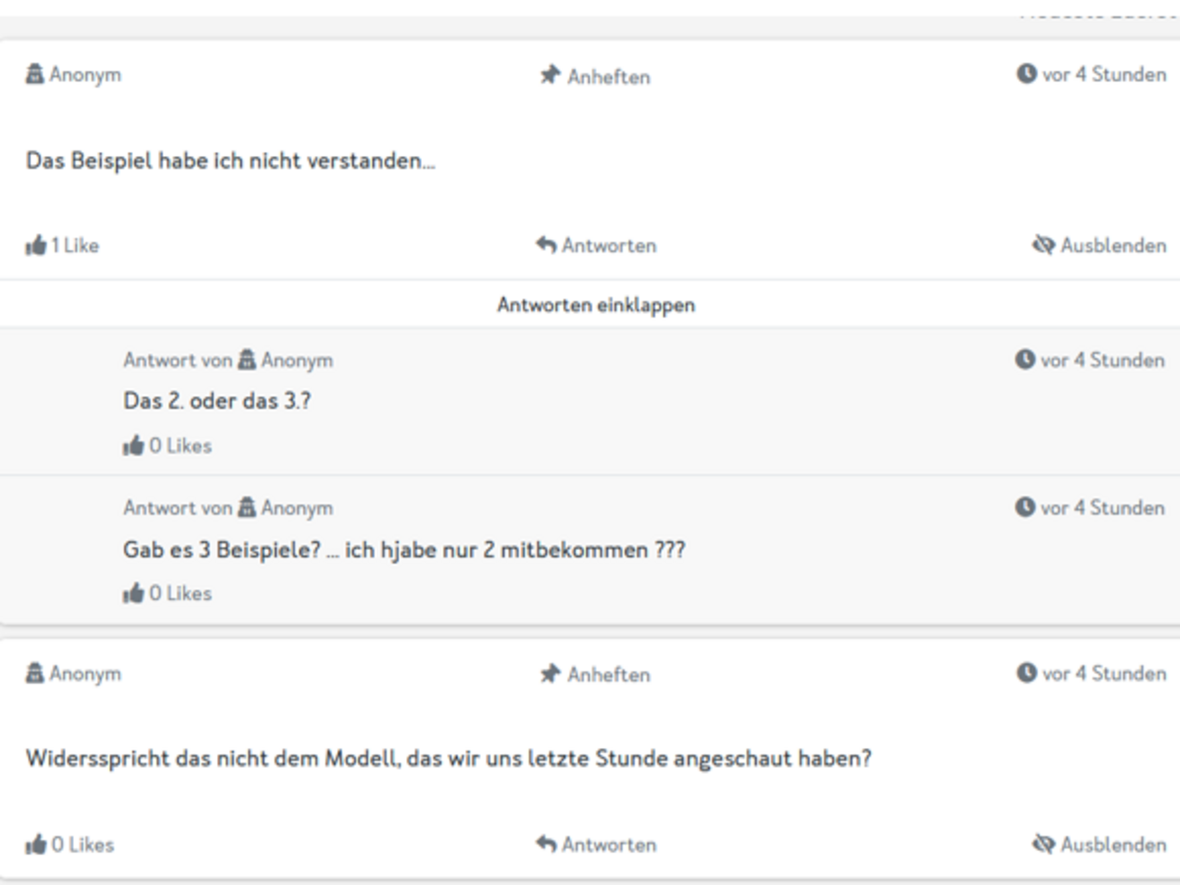
... the digital comment wall (chat wall function)
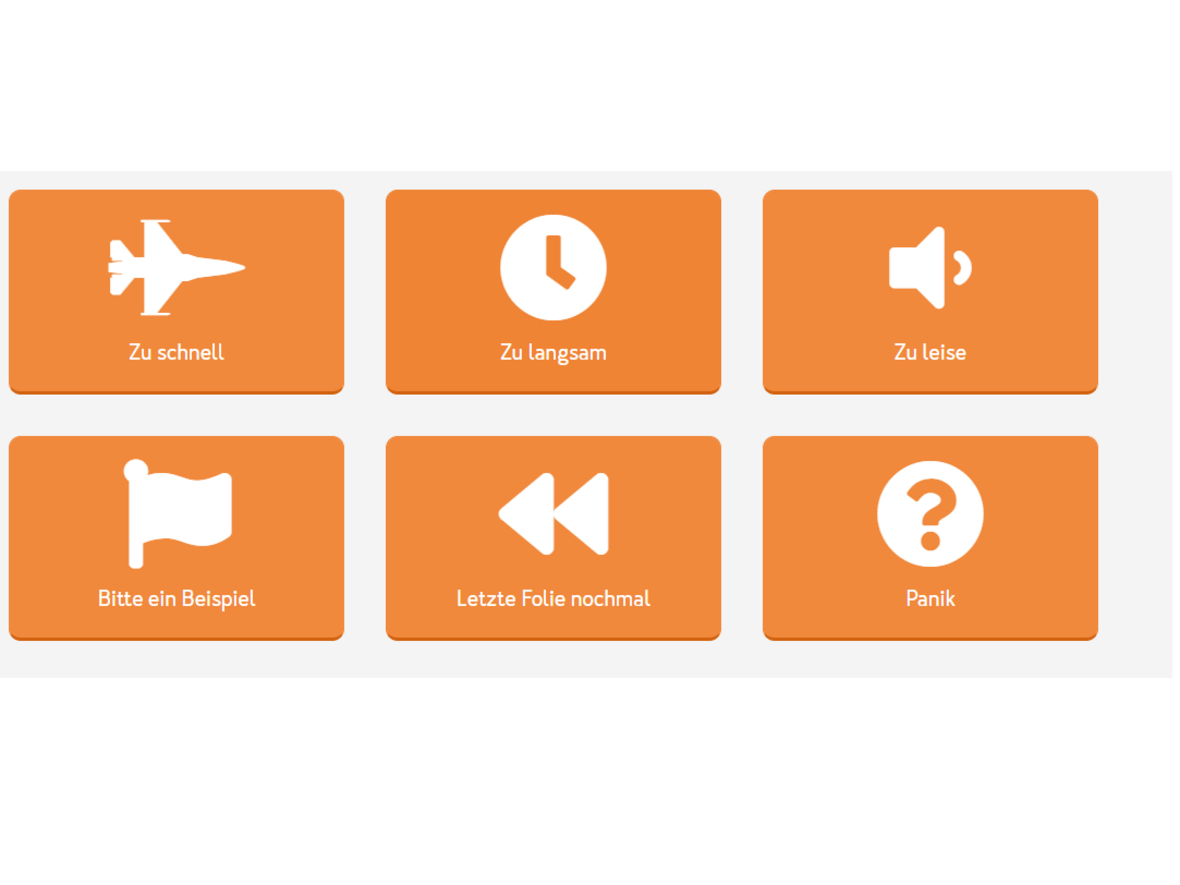
... the live feedback at the push of a button (panic function)
In tweedback you can create and manage so-called sessions, which you can equip with your choice of the above-mentioned functions.
What you have to do
Log in at External link opens in a new window:tweedback.de with your Pro account.
Click "Create a new session" in the upper right corner.
Now choose your features.
- 3.1
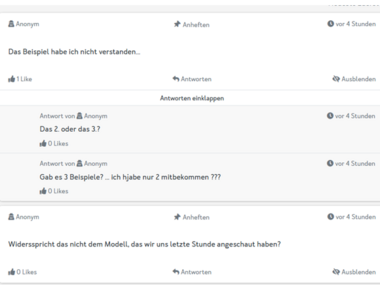 Chatwall
Example of a questionnaire overview.
- 3.2
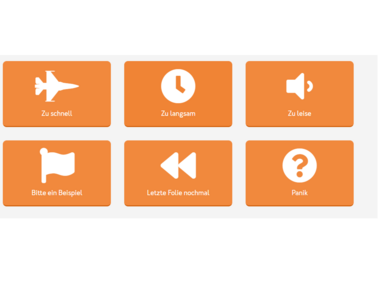 Panic buttons
From the participant's point of view
- 3.3
 Quiz question
Publishing results
Click "Let me get started!" to create a new session.
Give your session a meaningful title that will allow you to easily identify the course and event session later.
You can retrieve the session at this point (e.g. by clicking on the title). Depending on the feature selected, you can now prepare the session using the corresponding Helpcard.